
To install Sonoaim, begin by going to Google Drive and downloading the installer.
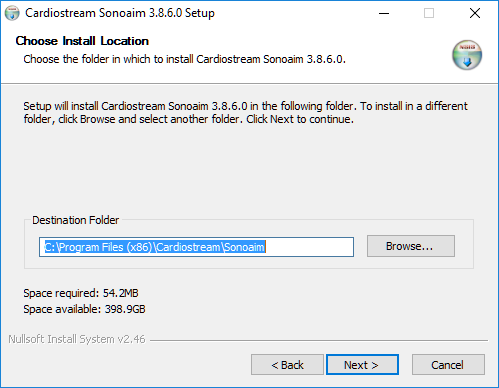
You may choose where to install Sonoaim. By choosing different folders, you can install multiple instances of the software.
Once installed, run the Sonoaim application. You will enter the setup wizard.
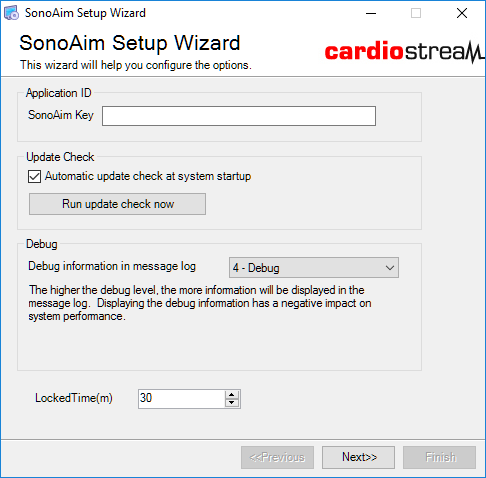
To retrieve the "SonoAim Key", log into Cardiostream and head to the "Setup" tab. Select "Setup DataHarvester", then filter for the client in question.
Copy the GUID from this page, and paste it into Sonoaim. If there are multiple entries, try to locate the appropriate one for this person/machine. If you cannot locate the appropriate one, please contact David Higgins or David Mistretta for assistance.

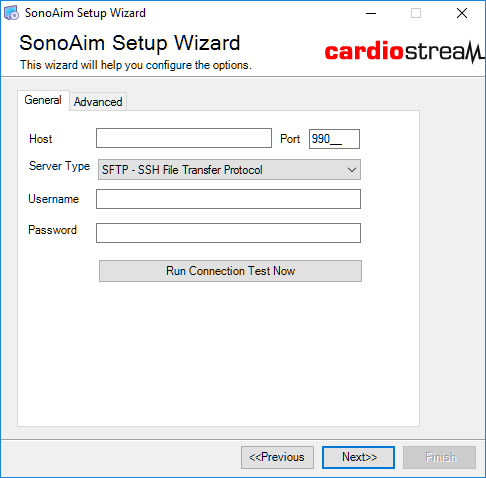
Next, you will need to enter the "Host", username and password. You must contact David Higgins or David Mistretta for this information.
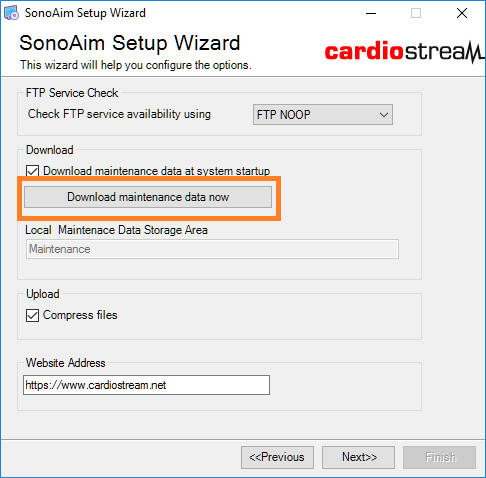
Proceed to the next page. Make sure to run the Maintenance before proceeding. Do this for all new installs.
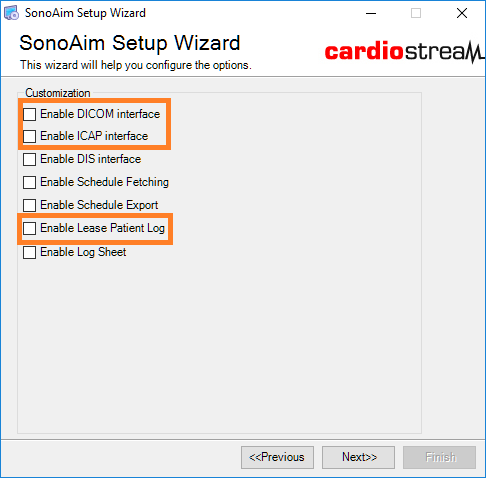
On the next page, select the appropriate options. The most commonly used options are:
- Enable DICOM interface - for ultrasound or other DICOM modalities
- Enable ICAP interface - for multimedia capture of nuclear exam
- Enable Lease Patient Log - for nuclear clients only, predominantly Digirad
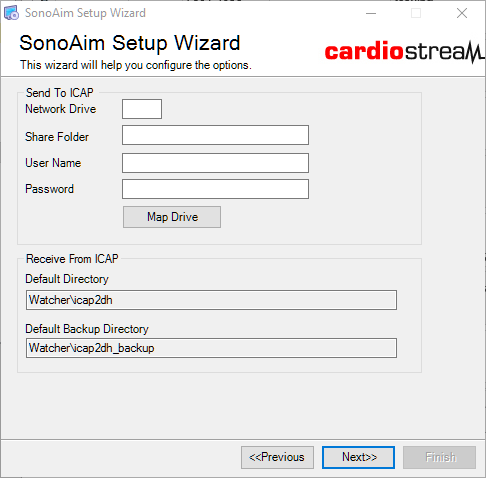
If the nuclear camera and Sonoaim computer are on the same network, you can use the "Send to ICAP" section to configure a network of share. This allows the tech to save the nuclear images directly to Sonoaim.
Few clients do this; so, the default is to leave it blank unless the client instructs otherwise.
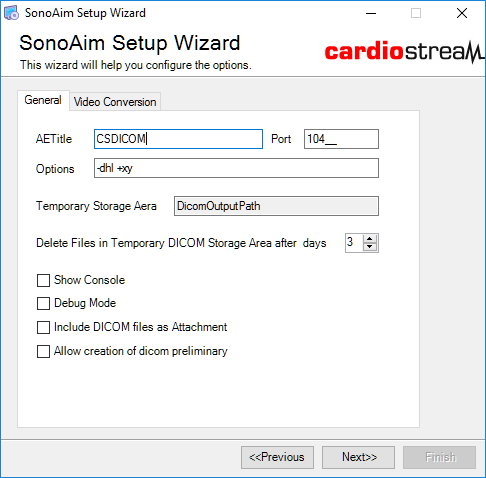
Next, configure the AE Title and port for use with Sonoaim. The default AE Title is "CSDICOM", and the default port is 104. Of course, this can be changed as required.
On the next screen, you must select an "Imaging Device Unit". That field carries no function; however, you must select something.

You can also adjust the retention length from 14 days, if desired.
On the "Configure Study Type" page, select any exam types that will be uploaded from this Sonoaim. Next, select the appropriate option from the "Data Population" drop-down.
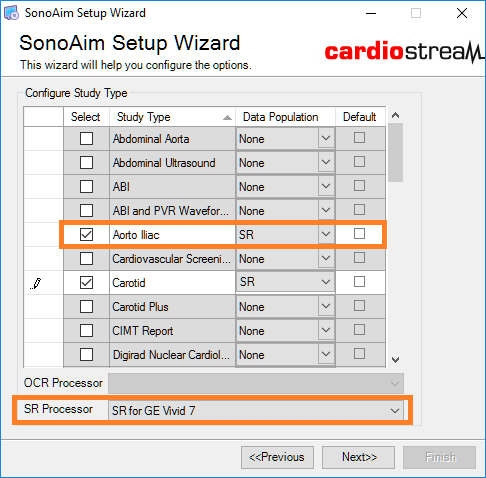
On the bottom, select the correct device from either the "OCR Processor" or "SR Processor" drop-down.
Hit "Next" and "Finished" to complete the installation.